
[su_dropcap style=”flat”]I[/su_dropcap]f you use a chrome browser, you would have experienced the ERR_NETWORK_CHANGED error when connecting to the net. This issue hinders smooth internet browsing on Windows 10 PC, and of course, many of you might be looking for a solution to get rid of this Chrome error.
There are several reasons behind this unpleasant bug. Some of them are change settings in Network configuration, Malware attack, change in TCP/IP, obsolete drivers, and corrupt Google Chrome. Well, you don’t need to worry about this error as there are many ways available to fix it.
Let’s find out these solutions in detail-
Related Posts:
Top Solutions to Fix ERR_NETWORK_CHANGED Error
[su_divider top=”no” divider_color=”#000000″]
Solution 1: Restart your Internet connection
Checking your internet connection must be the first thing you can do before going through other solutions because many times, a bad connection creates a problem. So, it is always recommended to check the wire of the Internet connection properly. If you find everything OK, unplug the cable, then connect it back.
In case you have a wireless Internet connection, try disconnecting then reconnecting it back. If the error still persists, follow the below methods one by one.
[su_divider top=”no” divider_color=”#000000″]
Solution 2: Reset TCP/IP and DNS
The err_network_changed chrome error can also occur due to faulty TCP/IP or DNS settings. Resetting the TCP/IP and DNS via Command Prompt could resolve the issue.
So what we can do is:
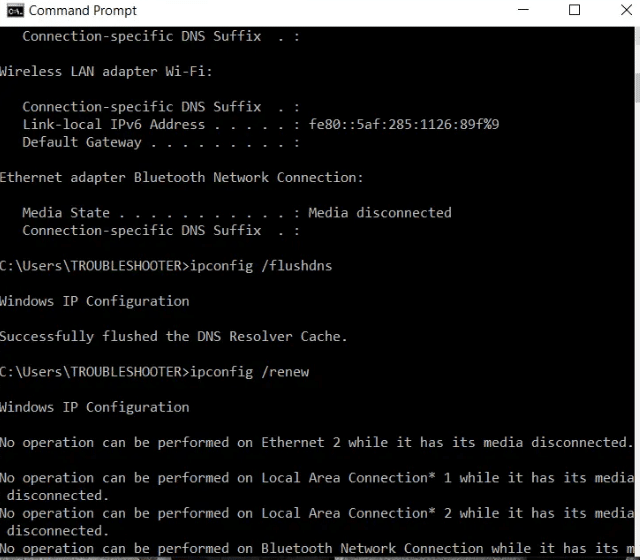
- Press Win + X key together and select the Command Prompt(Admin).
- Type the following command and press Enter after each command:
ipconfig /release
ipconfig /flushdns
ipconfig /renew
- Again, in the Admin Command Prompt, type the following commands and hit enter after each one:
netsh int ip reset
netsh winsock reset
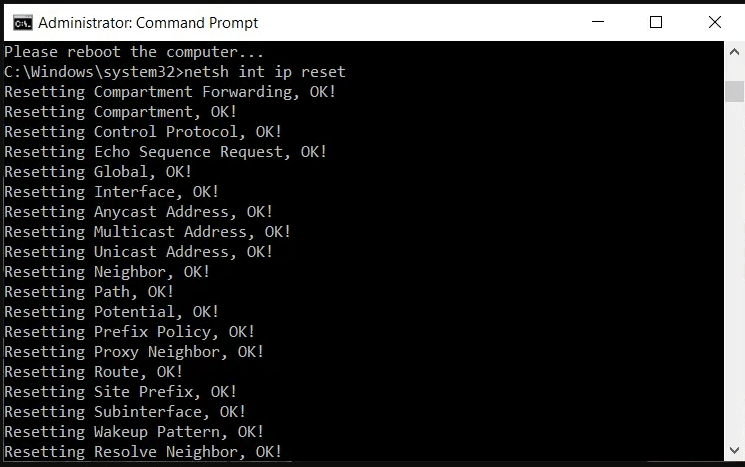
- Now, you will have to reboot the computer and open the browser to see if the problem still persists.
[su_divider top=”no” divider_color=”#000000″]
Solution 3: Reinstall or Update Network Adapter Software
An outdated or corrupt adapter driver can be one of the reasons behind chrome err_network_changed. To get rid of this issue, you need to update the same.
Here are the steps:
- Open the Start menu by pressing the Window key & X altogether.
- Click Device Manager.
- Expand Network adapters to see the list.
- Then right-click on your network adapter software and click Uninstall device. Also, you can right-click on the specific driver and tap the Update Driver option.
- Once you restart your PC, Microsoft might reinstall the driver for you.
[su_divider top=”no” divider_color=”#000000″]
Solution 4: Clear Browsing Data in Chrome
You can clear chrome browsing data using the steps below:
- Open Google Chrome browser.
- Press Ctrl + H to open History.
- After that, click the Clear browsing data option from the left panel.
- A window will appear where you need to select the time range from the drop-down menu. Select All Time.
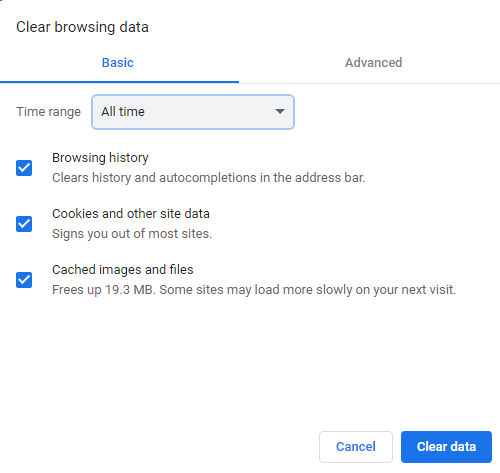
- At last, click on Clear data to confirm the changes.
- Once it is done, open the browser to see if the desired website is running smoothly.
[su_divider top=”no” divider_color=”#000000″]
Solution 5: Use Google’s Public DNS
Another working solution to resolve the error “A network change was detected. ERR_NETWORK_CHANGED” could be using Google’s Public DNS.
Reset Google’s Public DNS by following below steps:
- Right-click your network icon in the right end of the taskbar, and click on Open Network & Internet Settings.
- Now on the right side, click the Change adapter settings.
- Right-click on your network, and click on Properties.
- After that, click on Internet Protocol Version 4 (IPv4) in the list and then click the Properties button.
- Under the General tab, choose the option ‘Use the following DNS server addresses’ and put the DNS addresses mentioned in the next step.
- Type 8.8.8.8 into the Preferred DNS server and 8.8.4.4 into the Alternate DNS server.
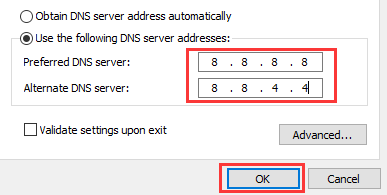
- Once done, click OK.
[su_divider top=”no” divider_color=”#000000″]
Solution 6: Uncheck Proxy
Here’re the steps to do so:
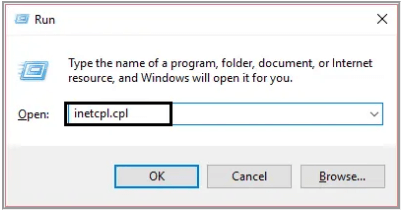
- Press Windows Key + R to open the Run command box. Type inetcpl.cpl and hit enter to open Internet Properties.
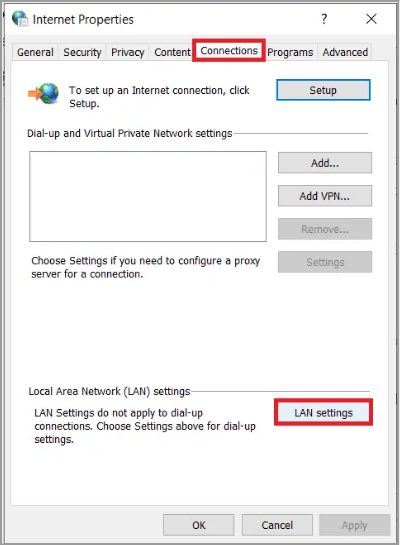
- Go to Connections tab and select LAN settings.
- Uncheck “Use a Proxy Server for your LAN” and make sure “Automatically detect settings” is checked.
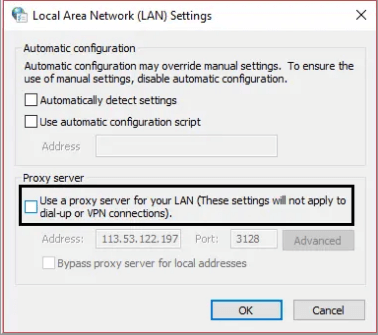
- Click Ok then Apply.
- Reboot your PC to see whether this solution works for you.
[su_divider top=”no” divider_color=”#000000″]
Final Words
These are the top methods that help you Fix ERR_NETWORK_CHANGED in Chrome. If you still have any queries regarding this post, you can ask them in the comment section below.


![How to Fix [pii_email_57bde08c1ab8c5c265e8] Error](https://thetechvibes.com/wp-content/uploads/2021/08/How-to-Fix-pii_email_57bde08c1ab8c5c265e8-Error-218x150.png "How to Fix [pii_email_57bde08c1ab8c5c265e8] Error?")


